
These are my projects I'm submitting.
This card is a special birthday card I made for my daughter, who would live in the water if possible, she loves swimming. The Magical Mermaid set was on the top of my wish list earlier this year.
To achieve the blurry 16 I dampened the watercolour paper before stamping the numerals, I wanted it to look like the numbers were under water too.

Here's a close up of the gold embossed Mermaid that was coloured with an Aqua painter.

Whilst I had this set out I dug out some photos from our trip to Fiji. Here is Miss 16, a few years earlier, practicing to be a Mermaid. She spent ages under the water with the waterproof camera, taking selfies!
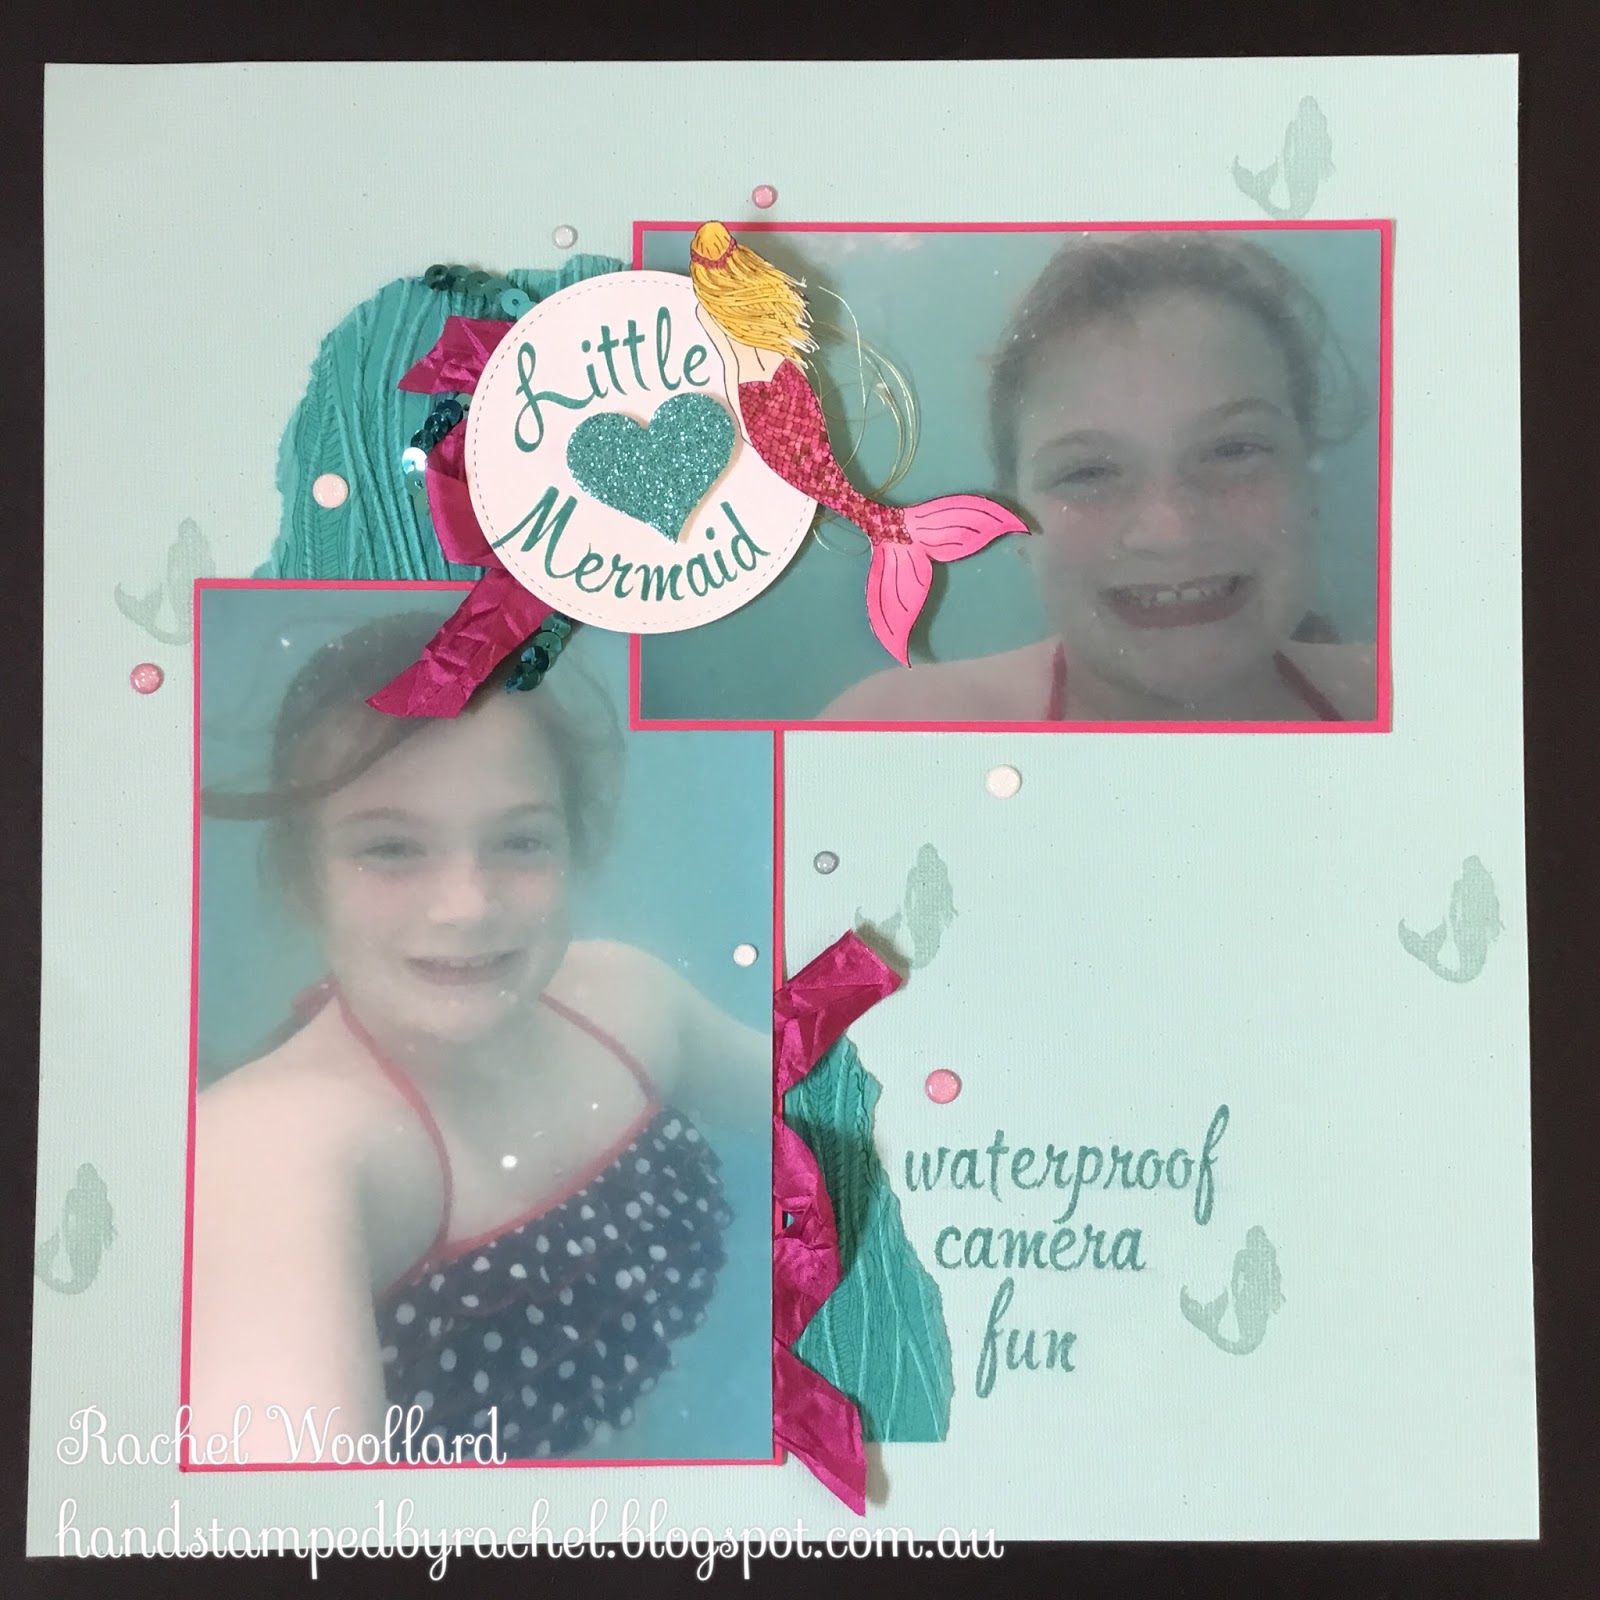
Close up of the title and another Mermaid.


Here's a close up of the flowers.

A few sprigs from Gold Glimmer paper add a bit more elegance, fitting for a wedding card.
My final card uses a brand new stamp set called Petal Palette and the matching thinlits Petals and More.

The embossing on the left was done using one of the folders from the Petal Pair folders, also brand new in the Occasions Catalogue which starts on the 3rd of Jan.

The Silver Glimmer paper sprig was cut using the Petals and More Thinlits.
My first 3D project is a box of Christmas tags. The set used is Merry Mistletoe and is in the Annual Catalogue.


My final project is Bone Folder holders that I made for those who attended my Stamp Camp.

The end of the holder was punched with the Scalloped edge punch. The flowers on the front were made using the Daisy punch.

My wonderful husband very carefully drilled a small hole in the end of each Bone Folder so that I could attach a Stamp Camp Tag and a tiny initial tag so that everyone knew which Bone Folder was theirs. The shrink plastic was cut using the Lots of Labels Dies.


I hope you enjoyed seeing my projects as much as I enjoyed making them,
Happy Stampin,
Rachel
No comments:
Post a Comment