Subscribe to my Newsletter

Friday, 12 January 2018

Let The Good Times Roll

Sale-a-bration and the new Occasions catalogue is here! I know I’m a bit late as they started on the 3rd of Jan, but I have been spending all my spare time working on samples for my first class for 2018 and mini catalogue launch on the 3rd of Feb.    Let The Good Time Roll is a stamp set from the Occasions catalogue. I dedicated a whole day to playing with this set and the matching thinlits.
 This is the first card I created.


The front uses part of the inside thinlit trimmed down to make a simple roller coaster.

Inside the card I cut the Roller coaster die from Soft Sky cardstock and again from Silver Foil.
Clouds have been heat embossed in the sky and carriages added to the roller coaster. Even the teeny tiny flags have been cut out and attached.
Although this card was lots of fun to make, I made a simplified version suitable for a class.


I will post a tutorial for this card after the class has been held.
I will be back regularly with more of my projects.
Happy Stampin,
Rachel


Product List

Tuesday, 19 December 2017

A few last Christmas cards for this year

I was very happy when I found out that this stamp set and thinlits very being carried over for the next catalogue. Hearts Come Home was my favourite set in the Holiday catalogue.
 
Back soon with a few more, Happy stampin, Rachel

Thursday, 30 November 2017

Display Board Stamper Projects

       I had so much fun last time I was selected to be a Display Board Stamper for one of Stampin' Up!s Onstage events, I decided to apply again. 

        These are my projects I'm submitting.
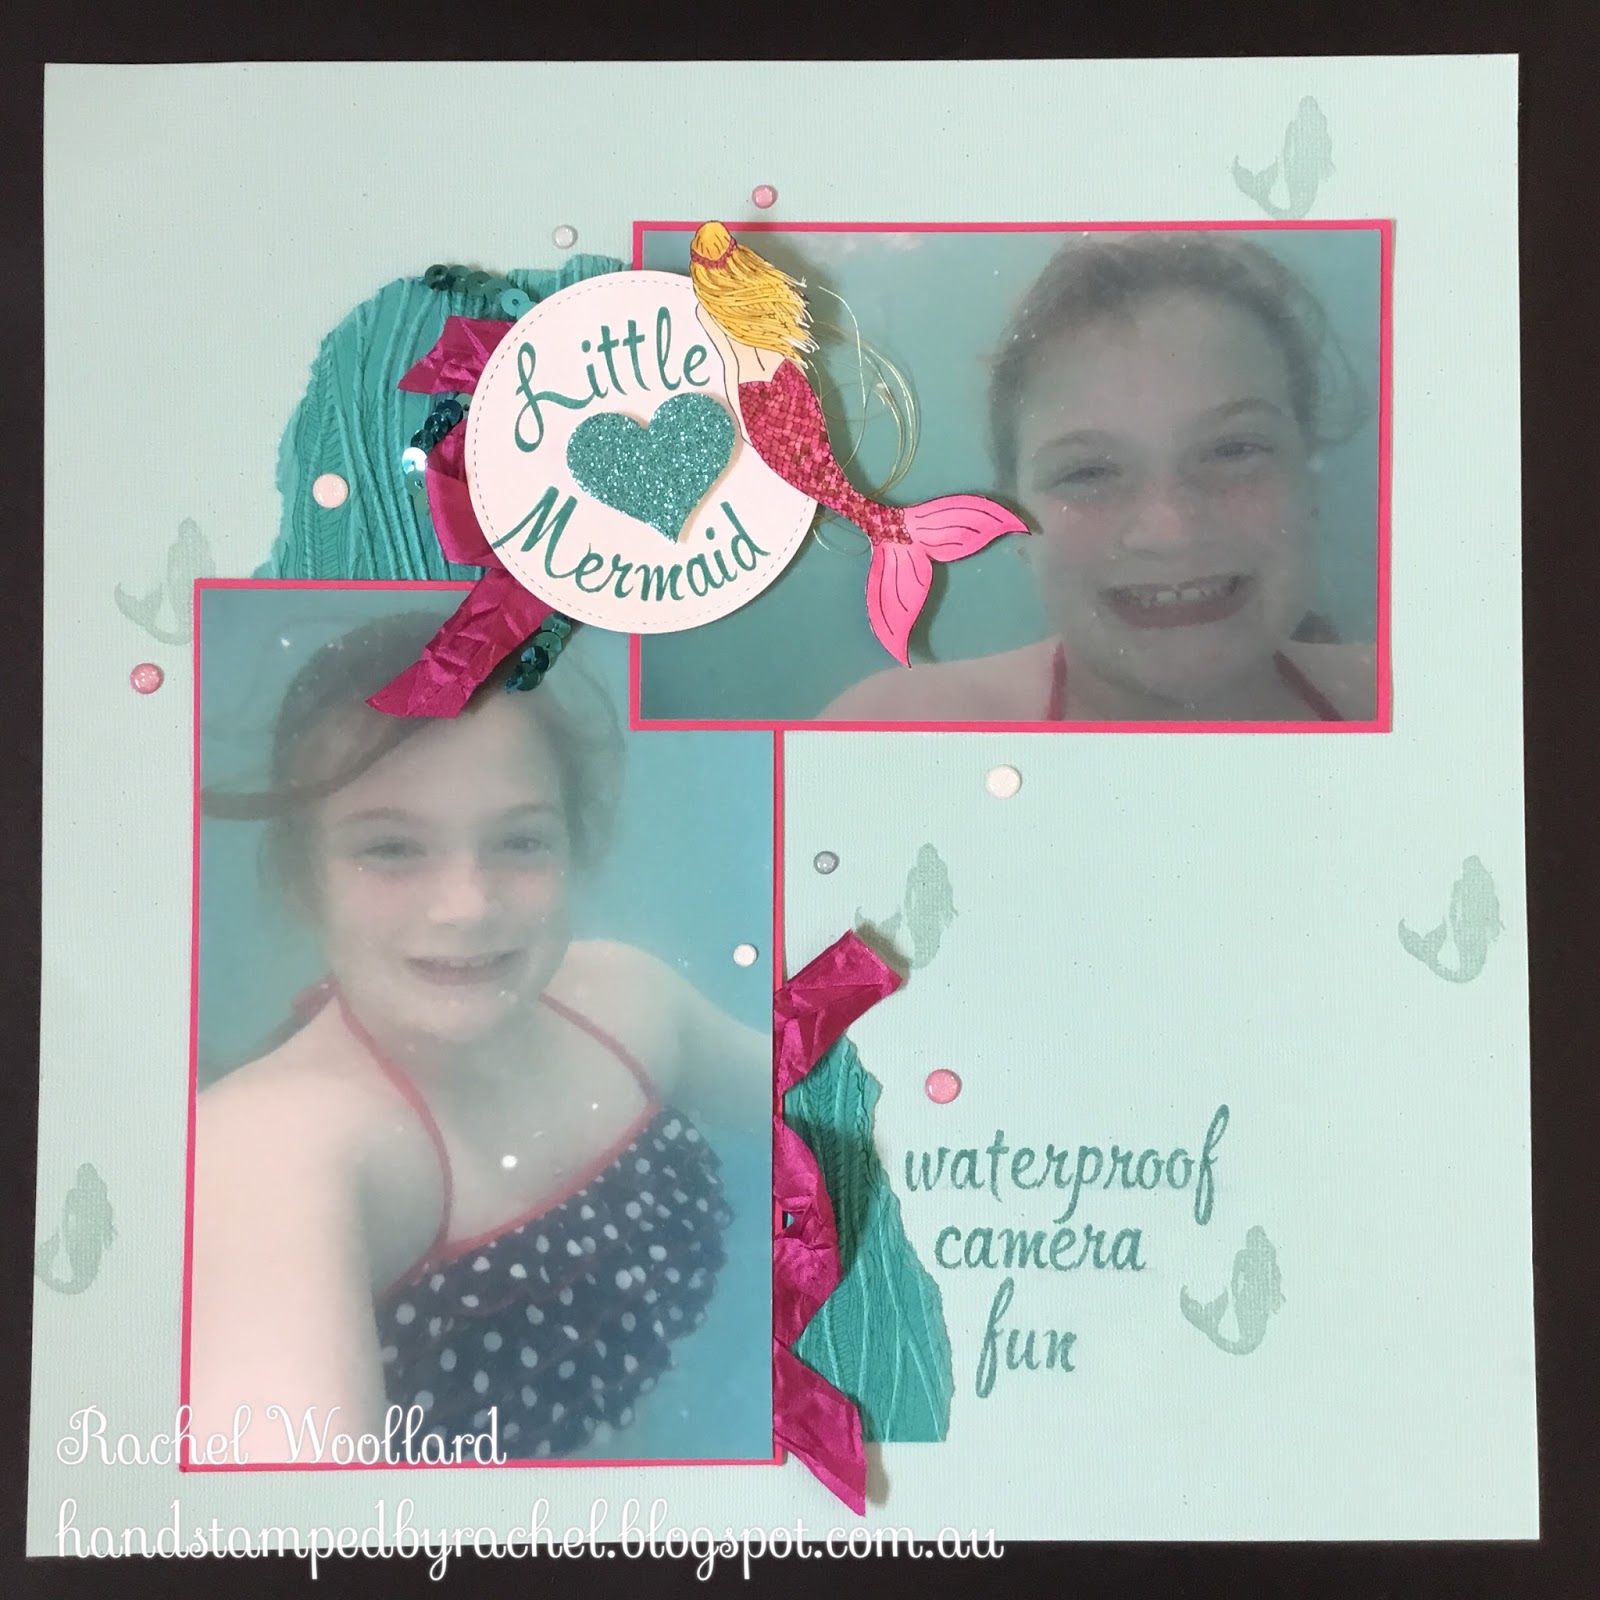
This card is a special birthday card I made for my daughter, who would live in the water if possible, she loves swimming. The Magical Mermaid set was on the top of my wish list earlier this year.
       To achieve the blurry 16 I dampened the watercolour paper before stamping the numerals, I wanted it to look like the numbers were under water too.

Here's a close up of the gold embossed Mermaid that was coloured with an Aqua painter.

Whilst I had this set out I dug out some photos from our trip to Fiji. Here is Miss 16, a few years earlier, practicing to be a Mermaid. She spent ages under the water with the waterproof camera, taking selfies!


Close up of the title and another Mermaid.

 My next card uses the Beautiful Bouquet stamp set and matching framelits. The background paper is from the Bundle of Love Specialty paper. The light pink flowers were inked in Versamark and then coloured on the edges with a Pink Pirouette Marker. This was then stamped on Very Vanilla cardstock and embossed with Clear Embossing Powder.


Here's a close up of the flowers.
 A few sprigs from Gold Glimmer paper add a bit more elegance, fitting for a wedding card.

My final card uses a brand new stamp set called Petal Palette and the matching thinlits Petals and More.

 The embossing on the left was done using one of the folders from the Petal Pair folders, also brand new in the Occasions Catalogue which starts on the 3rd of Jan.


The Silver Glimmer paper sprig was cut using the Petals and More Thinlits.

My first 3D project is a box of Christmas tags. The set used is Merry Mistletoe and is in the Annual Catalogue.

 The box slides open like a matchbox to reveal the tags. The window on the front was cut using the Lots of Labels dies. I then mounted a small piece of Window Sheet behind the panel to make a window.

 Here's a photo of some of the 8 tags. The top of each tag was punched with the Scalloped Tag punch. A small strip of Silver 1/8th ribbon was added to each tag so that it can be attached to a present.

My final project is Bone Folder holders that I made for those who attended my Stamp Camp.

The end of the holder was punched with the Scalloped edge punch. The flowers on the front were made using the Daisy punch.

My wonderful husband very carefully drilled a small hole in the end of each Bone Folder so that I could attach a Stamp Camp Tag and a tiny initial tag so that everyone knew which Bone Folder was theirs. The shrink plastic was cut using the Lots of Labels Dies.


I hope you enjoyed seeing my projects as much as I enjoyed making them,

Happy Stampin,
Rachel


Wednesday, 29 November 2017

Heart of Christmas - week 27 Final week!


For the last Heart of Christmas blog hop I have a card to show you which uses the Salted Background technique.
It’s as simple as applying a colour wash to watercolour paper,  and while it’s still wet sprinkle cooking salt lightly over the top. Allow to dry and brush off the excess salt.
The card was finished with one of the dies from Hometown Greeting edgelit dies. The greeting comes from the coordinating stamp set called Hearts Come Home.

 To see the rest of this weeks participants head over to Claire Daly’s blog.

Happy Stampin,
Rachel
  Product List

Thursday, 23 November 2017

Art With Heart Team Blog Hop - Add Texture


I love using embossing folders on my cards. It's a quick and effective way of adding extra dimension to any card.

My first card features the Brick embossing folder. This is a square folder which means you can make either a vertical or horizontal card like this one.


To create the nonembossed area in the center of the Very Vanilla card stock I substituted cardboard templates with an oval cut out of the center for one of the clear Bigshot plates. It took a bit of trial and error to get the correct pressure but now I will keep these templates for future use.
I inserted the VV card stock into the embossing folder as usual.

Instead of using a clear plate under the folder I used my stack of templates on top, being careful to position the oval where I wanted the non-embossed section. ONE of the clear plates goes on top of this sandwich.

I put this sandwich through the Bigshot and voila! embossed card stock with a blank section in the middle.
I used this blank section for my greeting.

My second card uses a new embossing folder from the upcoming Occasions Catalogue. I will have copies of these about mid December, please contact me if you would like one.
This new Dynamic Textured Impressions Embossing folder is called Scattered Sequins, and it looks exactly like you have sequins in your card! Again this is a square folder so that you can have the scattered effect on either a portrait or landscape orientated card. The stamp used here is Cake Soiree, also from the upcoming Occasions Catalogue. Stay tuned for more sneak peeks in the coming weeks.


Now it’s time to see what amazing projects the very talented Sharon Davern has to share with us.
If you find a broken link or have come to this blog hop from a different entry point, you can view the participants below:  

I hope you're enjoying our blog hop,

Happy Stampin,
Rachel

01 09 10